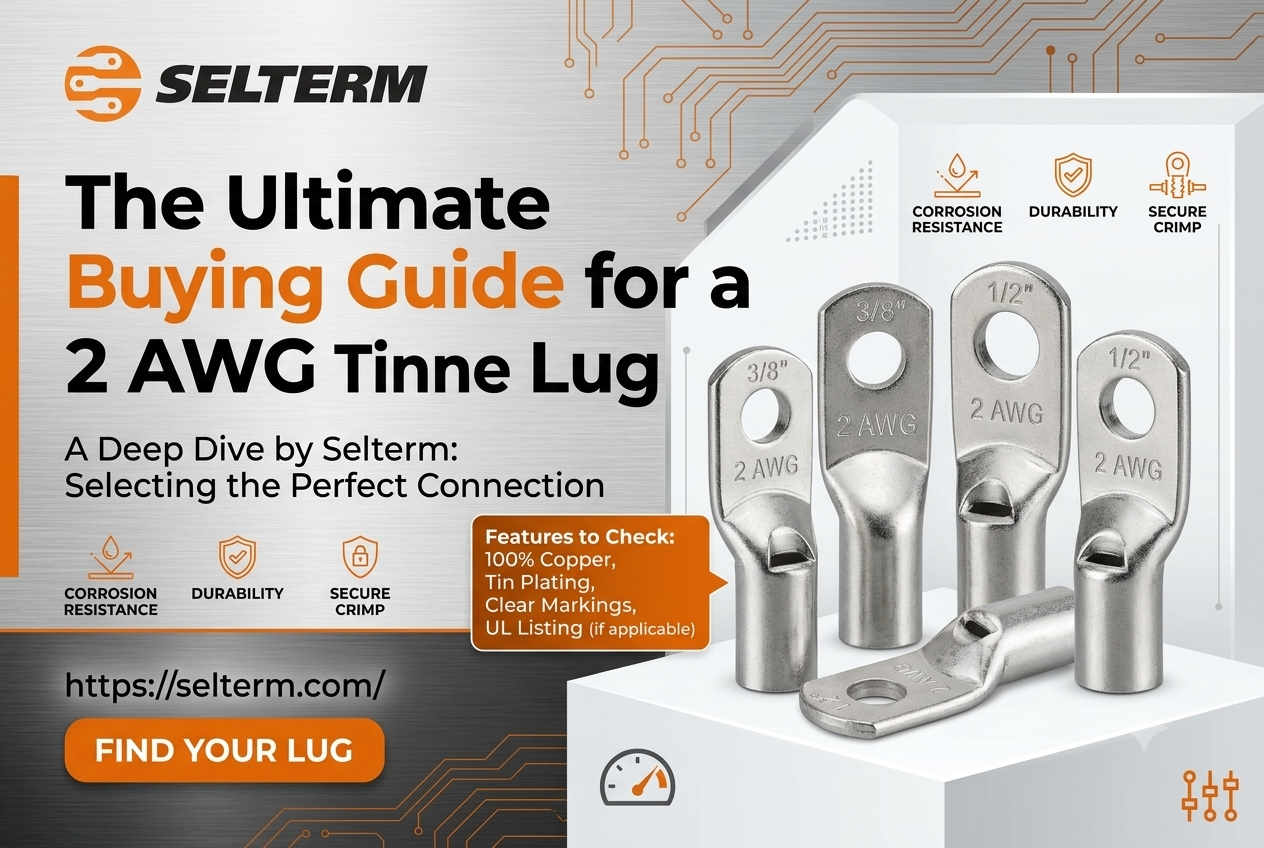
Walk into any parts counter and ask for “a 2 gauge lug” and you’ll get a dozen different options thrown your way. Not all of them belong to the same job.
Picking the right 2 awg tinned lug means knowing what actually matters versus what’s just marketing on the packaging. This guide covers the real decision points.
First Question: What’s the Application?
Before comparing specs, nail down what the lug actually needs to survive.
A 2 gauge tinned lug on a boat’s bilge pump circuit faces constant moisture and vibration. The same size lug in a dry indoor panel faces neither.
The environment shapes almost every downstream decision, from coating choice to heat shrink type. Skipping this step and buying based on price alone is how the wrong hardware ends up on a build that needs better protection.
Tinned vs Bare: The Real Difference
Tinned copper costs a bit more per lug, and that extra cost buys real corrosion resistance.
Bare copper oxidizes faster in humid or salty conditions, and that oxidation directly increases resistance at the connection point over time.
- Tinned coating resists saltwater and humidity corrosion
- Bare copper works fine in dry, indoor environments
- Marine applications typically require tinned by code
- Tinned lugs cost slightly more but last significantly longer outdoors
For anything near water, weather, or road salt, tinned is the safer call every time.
Stud Hole and Barrel Specs to Confirm
Stud hole diameter on a 2 awg tinned lug commonly runs 5/16 inch or 3/8 inch, but this varies by manufacturer.
Match the stud hole to existing hardware on the terminal block or busbar rather than assuming a standard size fits.
Barrel inner diameter matters just as much, since it needs to accommodate actual strand count for 2 gauge cable without being too loose or too tight. A barrel that’s slightly oversized won’t crimp down properly no matter how good the die is.
Crimping Method Makes or Breaks the Job
At 2 gauge, a proper hex die crimper produces a noticeably stronger connection than an indent-style crimper.
Hex dies compress the barrel evenly around its full circumference, creating consistent contact between strands and lug material.
Pro tip: always verify the die color code or size rating matches the lug manufacturer’s spec before crimping. A mismatched die can produce a crimp that looks fine but doesn’t hold real pull strength once tested.
Strip Length Precision Matters More Than It Seems
Getting strip length wrong on a 2 gauge tinned lug causes two different problems depending on which direction the mistake goes.
Too short, and strands don’t fully seat inside the barrel, leaving weak contact points. Too long, and bare copper sits exposed past the barrel edge where corrosion can start immediately.
Measure against the actual lug barrel before stripping any cable. Most 2 awg tinned lug barrels need somewhere around half an inch stripped, though exact specs shift between brands and batches.
Pull Testing Before Committing to a Batch
A crimp can look visually correct and still fail a pull test if the die pressure wasn’t quite right.
Rigging up a quick test on scrap cable before running an entire batch catches setup issues early, when they’re cheap to fix.
- Test crimp on scrap cable first
- Pull firmly by hand or with a fixture
- Compare against manufacturer pull strength specs
- Adjust die tonnage if the test crimp fails easily
Skipping this step on a big batch means potentially redoing dozens of connections later.
Heat Shrink Selection Rounds Out the Job
A good crimp deserves a good seal, and tape simply doesn’t hold up long term.
Adhesive-lined heat shrink bonds to both the cable jacket and the lug barrel, creating a moisture barrier that standard tape can’t match.
Seen it firsthand: tape-wrapped connections on an engine bay build started lifting at the edges within the first year. Heat shrink on the same type of install stayed sealed tight well beyond that timeframe, which says plenty about which option actually holds up.
Where 2 Gauge Fits Into Real Builds
This gauge sits comfortably below 1 AWG in current capacity, making it a common choice for moderate load circuits.
RV auxiliary systems, smaller trolling motor setups, and secondary battery connections on trucks often land right at 2 gauge sizing without needing anything heavier.
- RV auxiliary battery circuits
- Small to mid-size trolling motors
- Secondary alternator connections
- Moderate solar charge controller runs
It’s a practical middle ground when full 1 AWG or 1/0 sizing would be more capacity than the load actually requires.
Cost Considerations Worth Knowing
Tinned lugs at 2 gauge typically run a modest premium over bare copper equivalents, often just a matter of cents per piece.
Given how much longer tinned coating extends usable lifespan in humid or outdoor conditions, that premium pays for itself quickly on any application exposed to the elements.
Buying in bulk for larger projects often brings per-unit cost down further, making the tinned option even easier to justify across an entire build.
Making the Final Decision
Choosing the right tinned lug comes down to matching a handful of fundamentals to the actual job at hand.
Confirm stud hole size against existing hardware, verify barrel fit for proper strand seating, and always use a hex die crimper for consistent results.
Pull test before finalizing any batch, and finish every connection with adhesive-lined heat shrink rather than tape. A 2 gauge tinned lug selected and installed with these basics covered performs reliably for years without a second thought.
Buy right, crimp right, done.